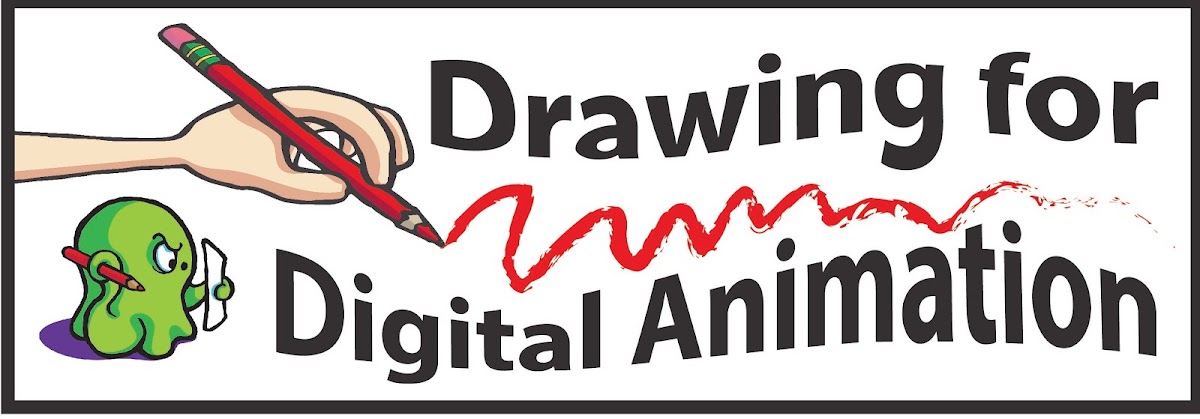
For this project you will be creating a sack character,
this will be done in the following steps
1. Design the look of your character
2. Create a character page
A. 5 poses needed for the character spin
B. 4 poses showing physical emotion or movement
3. You will need your ruler for this project
Sack Drop Character Design
1. In your sketchbook, with your red/blue pencil design your sack. (Use graphite if you do not have a red/blue pencil)
2. Think of the sack as two semi inflated water balloons stacked.
3. Follow the sack design video below, draw with the video, at the end of the video you will be asked to draw 4 more sack designs. Do not ink! Please upload the page of sack drawings onto the discussion board. please type out with your reply the sack you wish to use and why.
(Possible ideas for your own design: zipper, patch, repaired rip, thick seams)
4. We will review your design in class if it looks good you can ink it and we will move on to creating the sack character page.
__________________________________________
__________________________________________
The Sack Character Page part 1
1. After your final sack has been chosen, you will need to create a sack character page.
Follow the Video below to create part 1
2. Always sketch the front view first, at the left hand side of the page. Work your way across the page left to right as you follow along with the video.

1. Now that you have the five sacks in a row, shown from 5 different angles, its time to experiment with adding movement to your character.
2. On a second row, draw your sack design in 4 emotional poses, use the images below for inspiration. Use the same line guide that you created for the first row. See demonstration in video below.
3. NO INKING KEEP EVERYTHING IN PENCIL!

3. After the drawing is complete, erase any unneeded lines and upload to the discussion board. This is due tomorrow at the start of class.
3. You will need 5 poses: Front, 3/4 Front, profile, 3/4 back and back.
4. The 5 poses must be seen as the same pose but seen from the 5 different angels as shown in the video.
4. The 5 poses must be seen as the same pose but seen from the 5 different angels as shown in the video.

________________________________
The Sack Character Page part 2
Time to add movement
1. Now that you have the five sacks in a row, shown from 5 different angles, its time to experiment with adding movement to your character.
2. On a second row, draw your sack design in 4 emotional poses, use the images below for inspiration. Use the same line guide that you created for the first row. See demonstration in video below.
3. NO INKING KEEP EVERYTHING IN PENCIL!

Follow the Video below, Character page part 2
No comments:
Post a Comment